
Kitchen splashback installation on the Gold Coast.
Glass, mirror, tile or stone. A splashback protects the wall behind your benchtop and pulls the whole kitchen together, so choose it with the rest of the design.
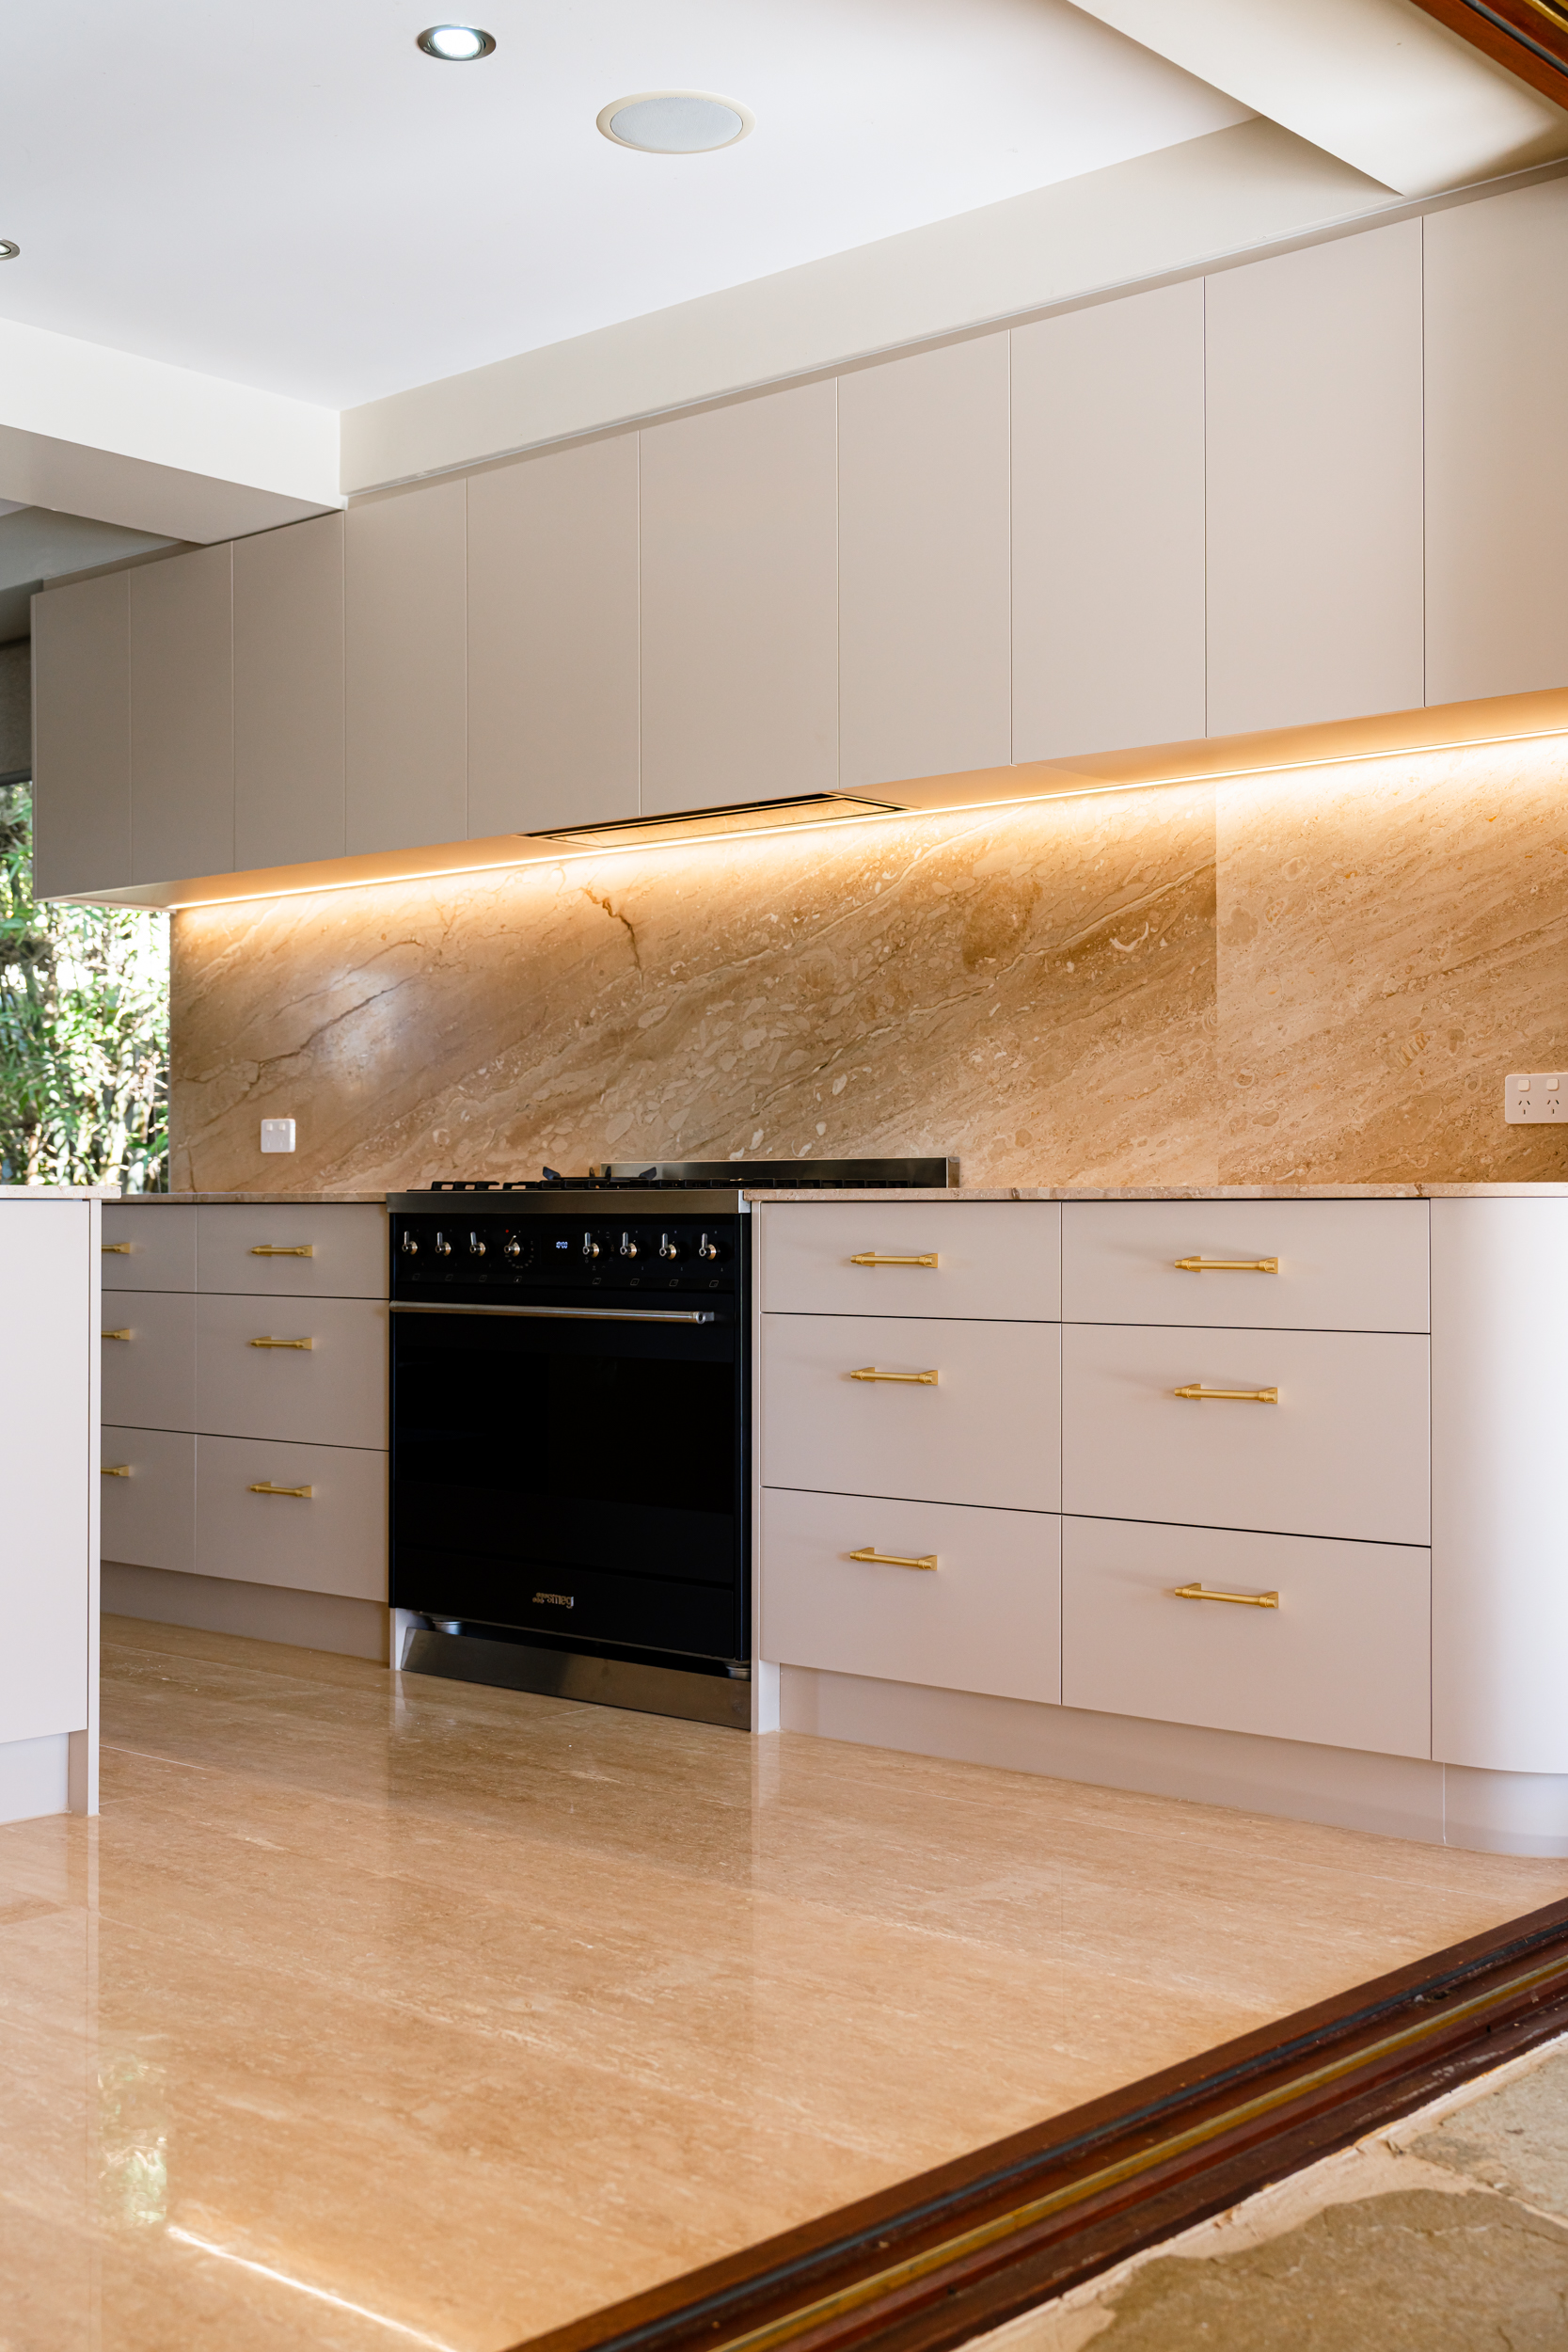
Considered spaces. Real Hasl Renovations work.
+ Family-owned since 1993
+ In-house design
+ Custom cabinetry
+ QBCC licensed
A small surface.
A big
difference.
Kitchen splashback installation and replacement on the Gold Coast and in Tweed Heads.
A splashback works hardest behind the cooktop and sink.
It takes the heat, steam and splashes that would otherwise mark the wall, and it is one of the first things you see in the kitchen. The right splashback is easy to clean, suits the benchtop and cabinetry, and handles the conditions behind your cooktop.
Hasl Renovations helps you choose the material and design as part of your kitchen, then coordinates the measuring and installation by licensed trades, including power points, the rangehood and benchtop details.
Choose the finish
that suits your
kitchen.
Each splashback material has its own look and practical considerations. These are the main options.
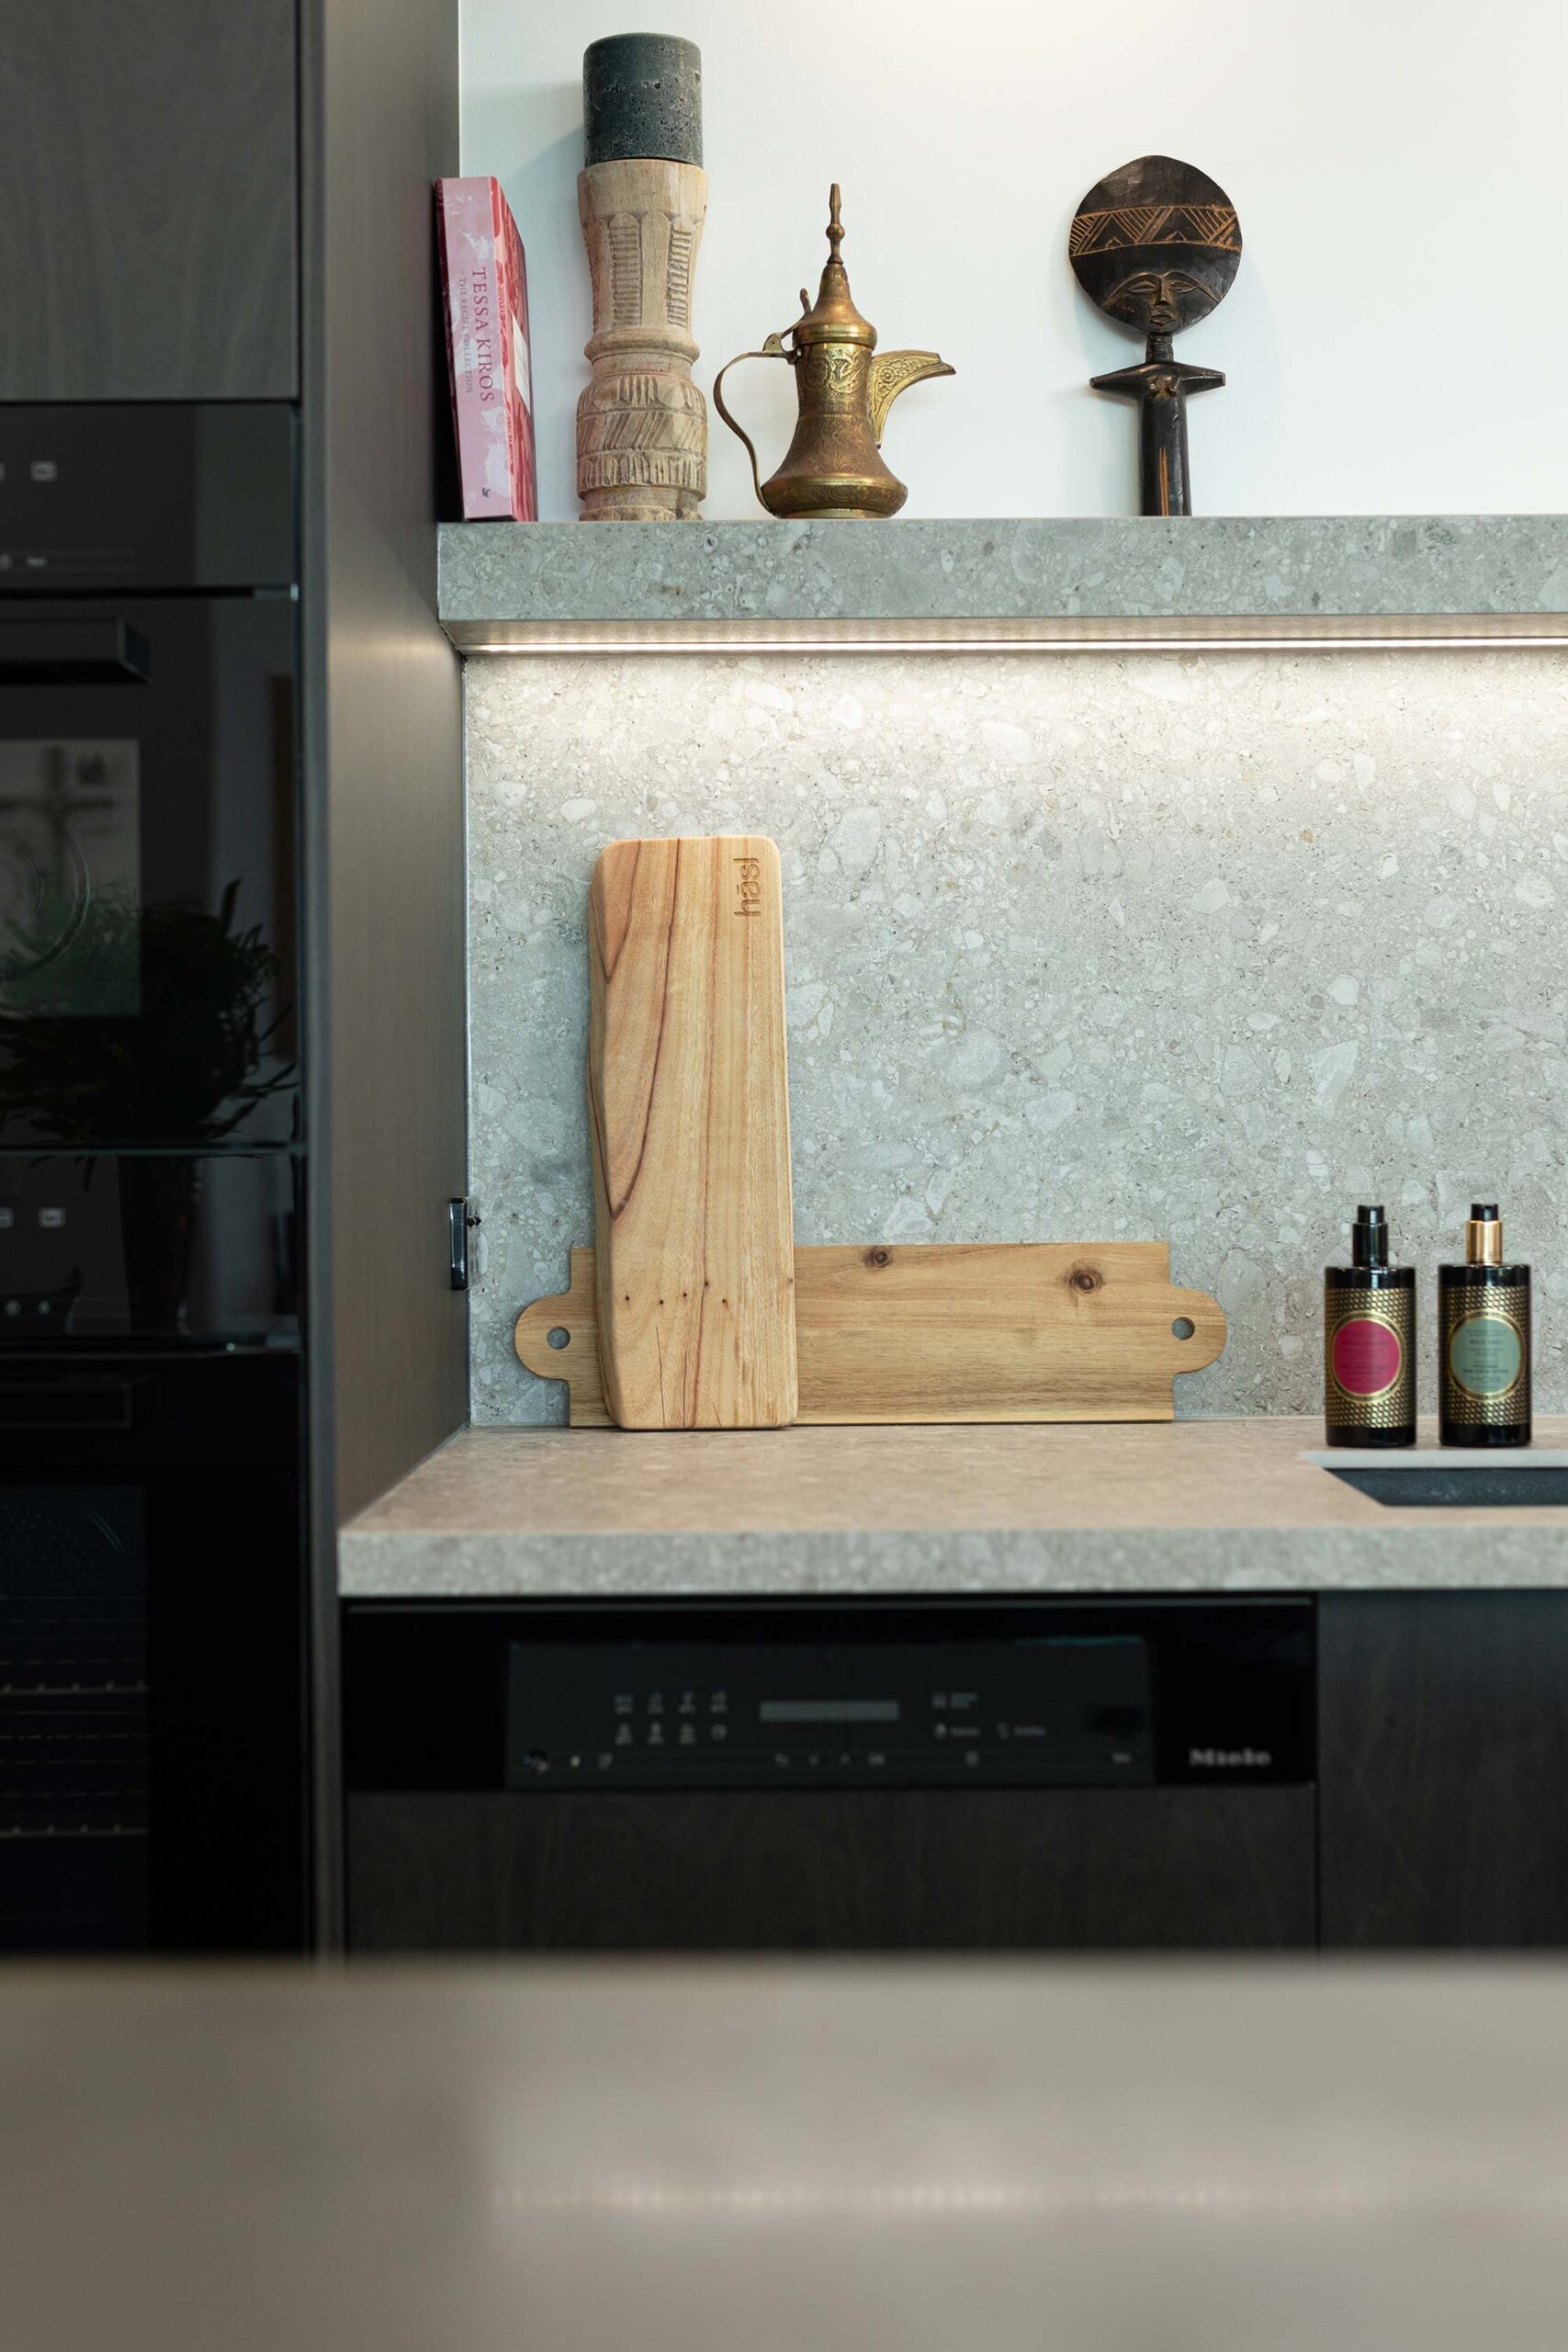
Kitchen design and detailing by Hasl Renovations.
Toughened glass and mirror.
Glass and mirror splashbacks are toughened to handle heat and moisture, and large panels mean few or no joins, so they wipe clean easily. Mirror reflects light and can make a kitchen feel larger, in tints from silver to bronze and grey.
Tiles with texture.
Subway, mosaic and handmade-look tiles add pattern and depth. Grout lines need more cleaning than a single panel, so the tile and the grout colour are worth choosing together.
Stone and porcelain slabs.
Continuing the benchtop material up the wall, or using a feature slab, creates a seamless look. Slab size, joins and cut-outs for power points need careful planning.
Plan around power and the rangehood.
Power points, the rangehood and any window or shelf affect the layout and cut-outs. A licensed electrician is part of the team, so these details are planned before the splashback is made.
Finishes that
bring it together.
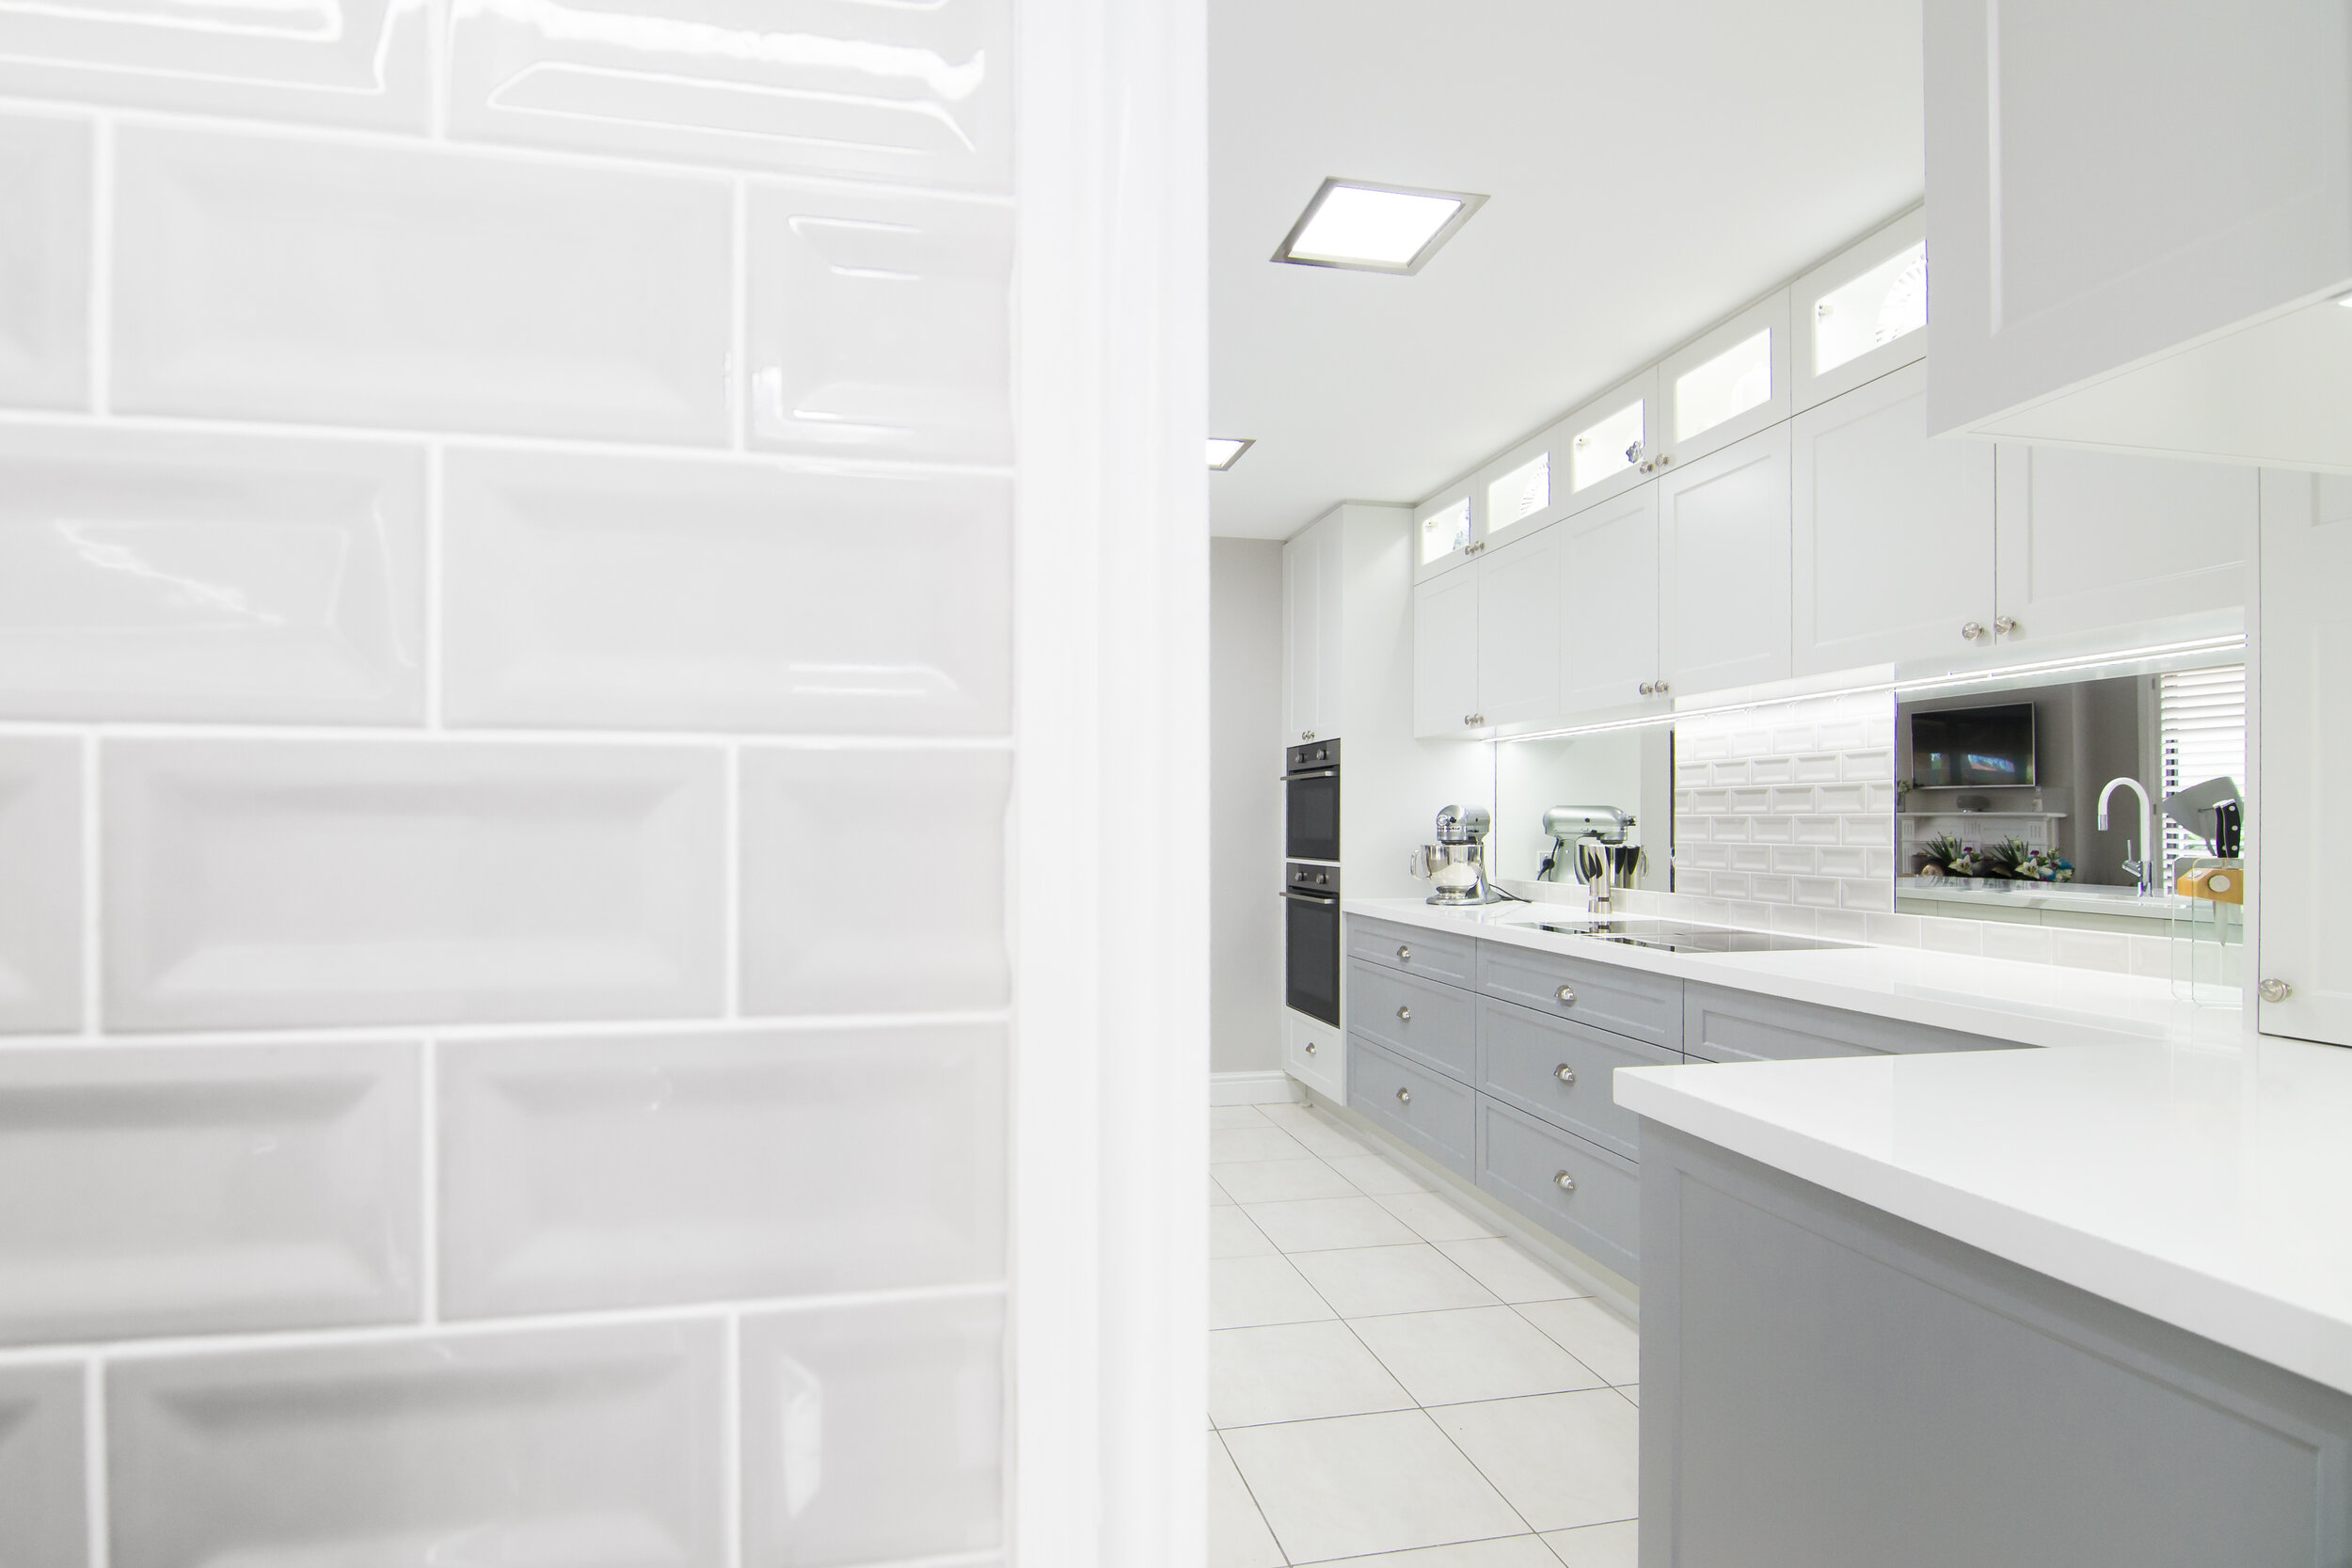
A bevelled subway tile splashback
Chef’s Retreat, Hope Island
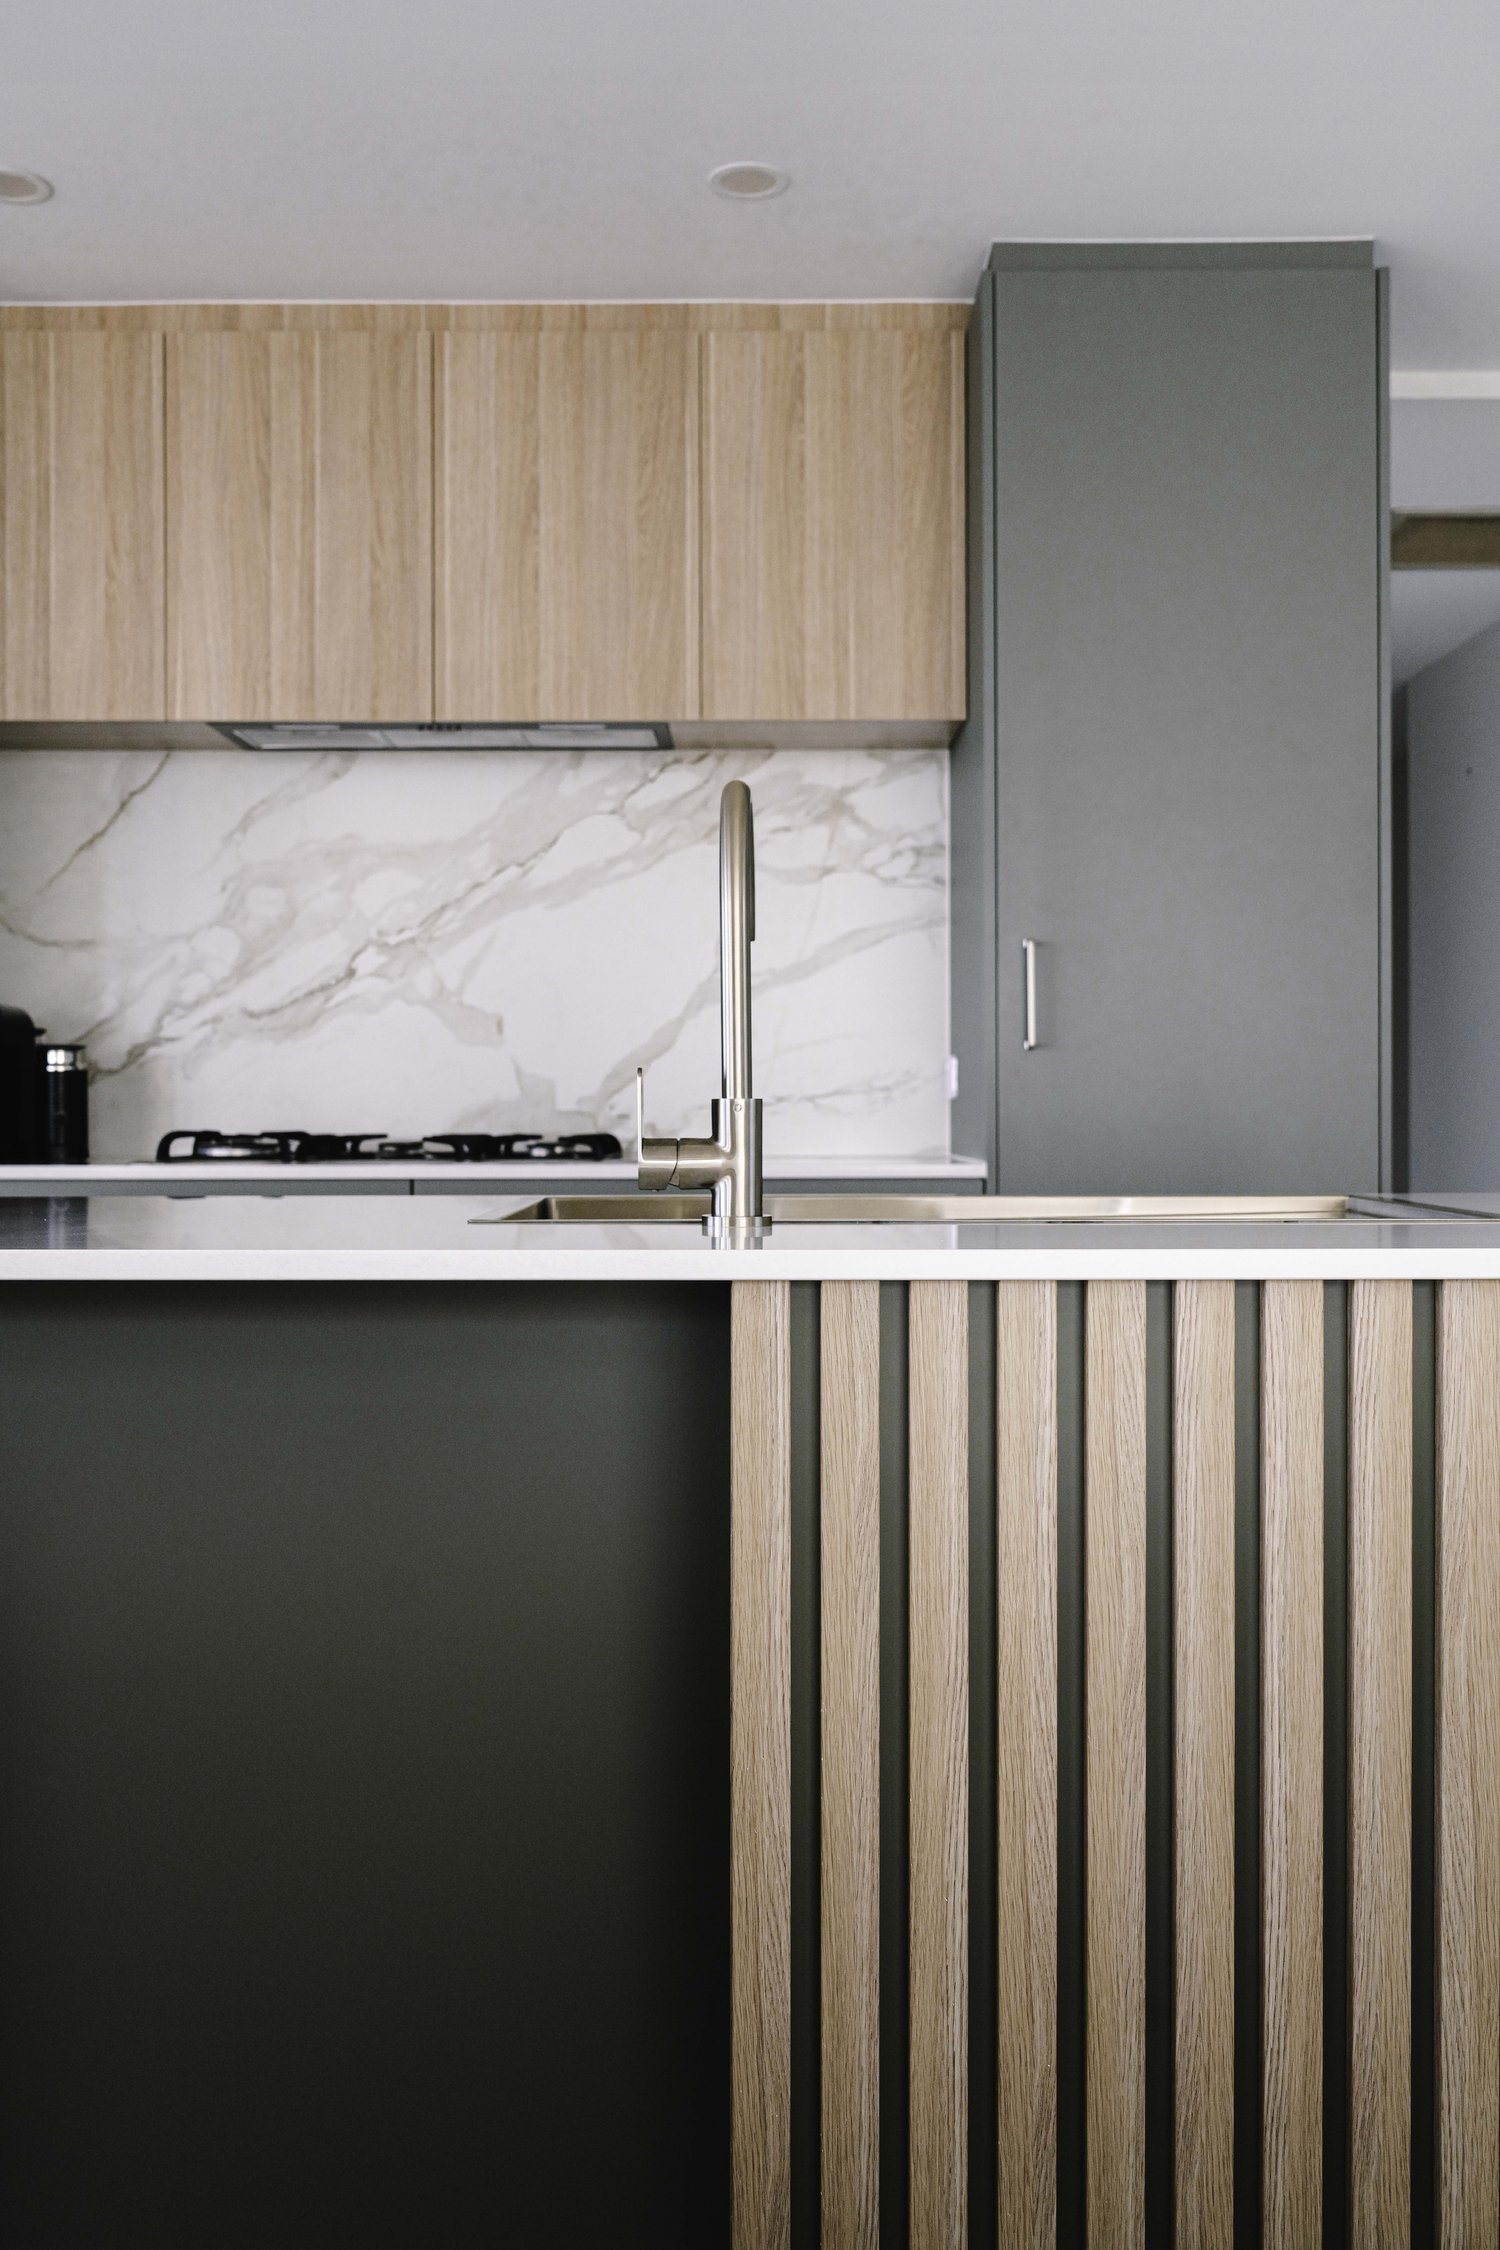
A full-height slab splashback
Evergreen Haven, Biggera Waters
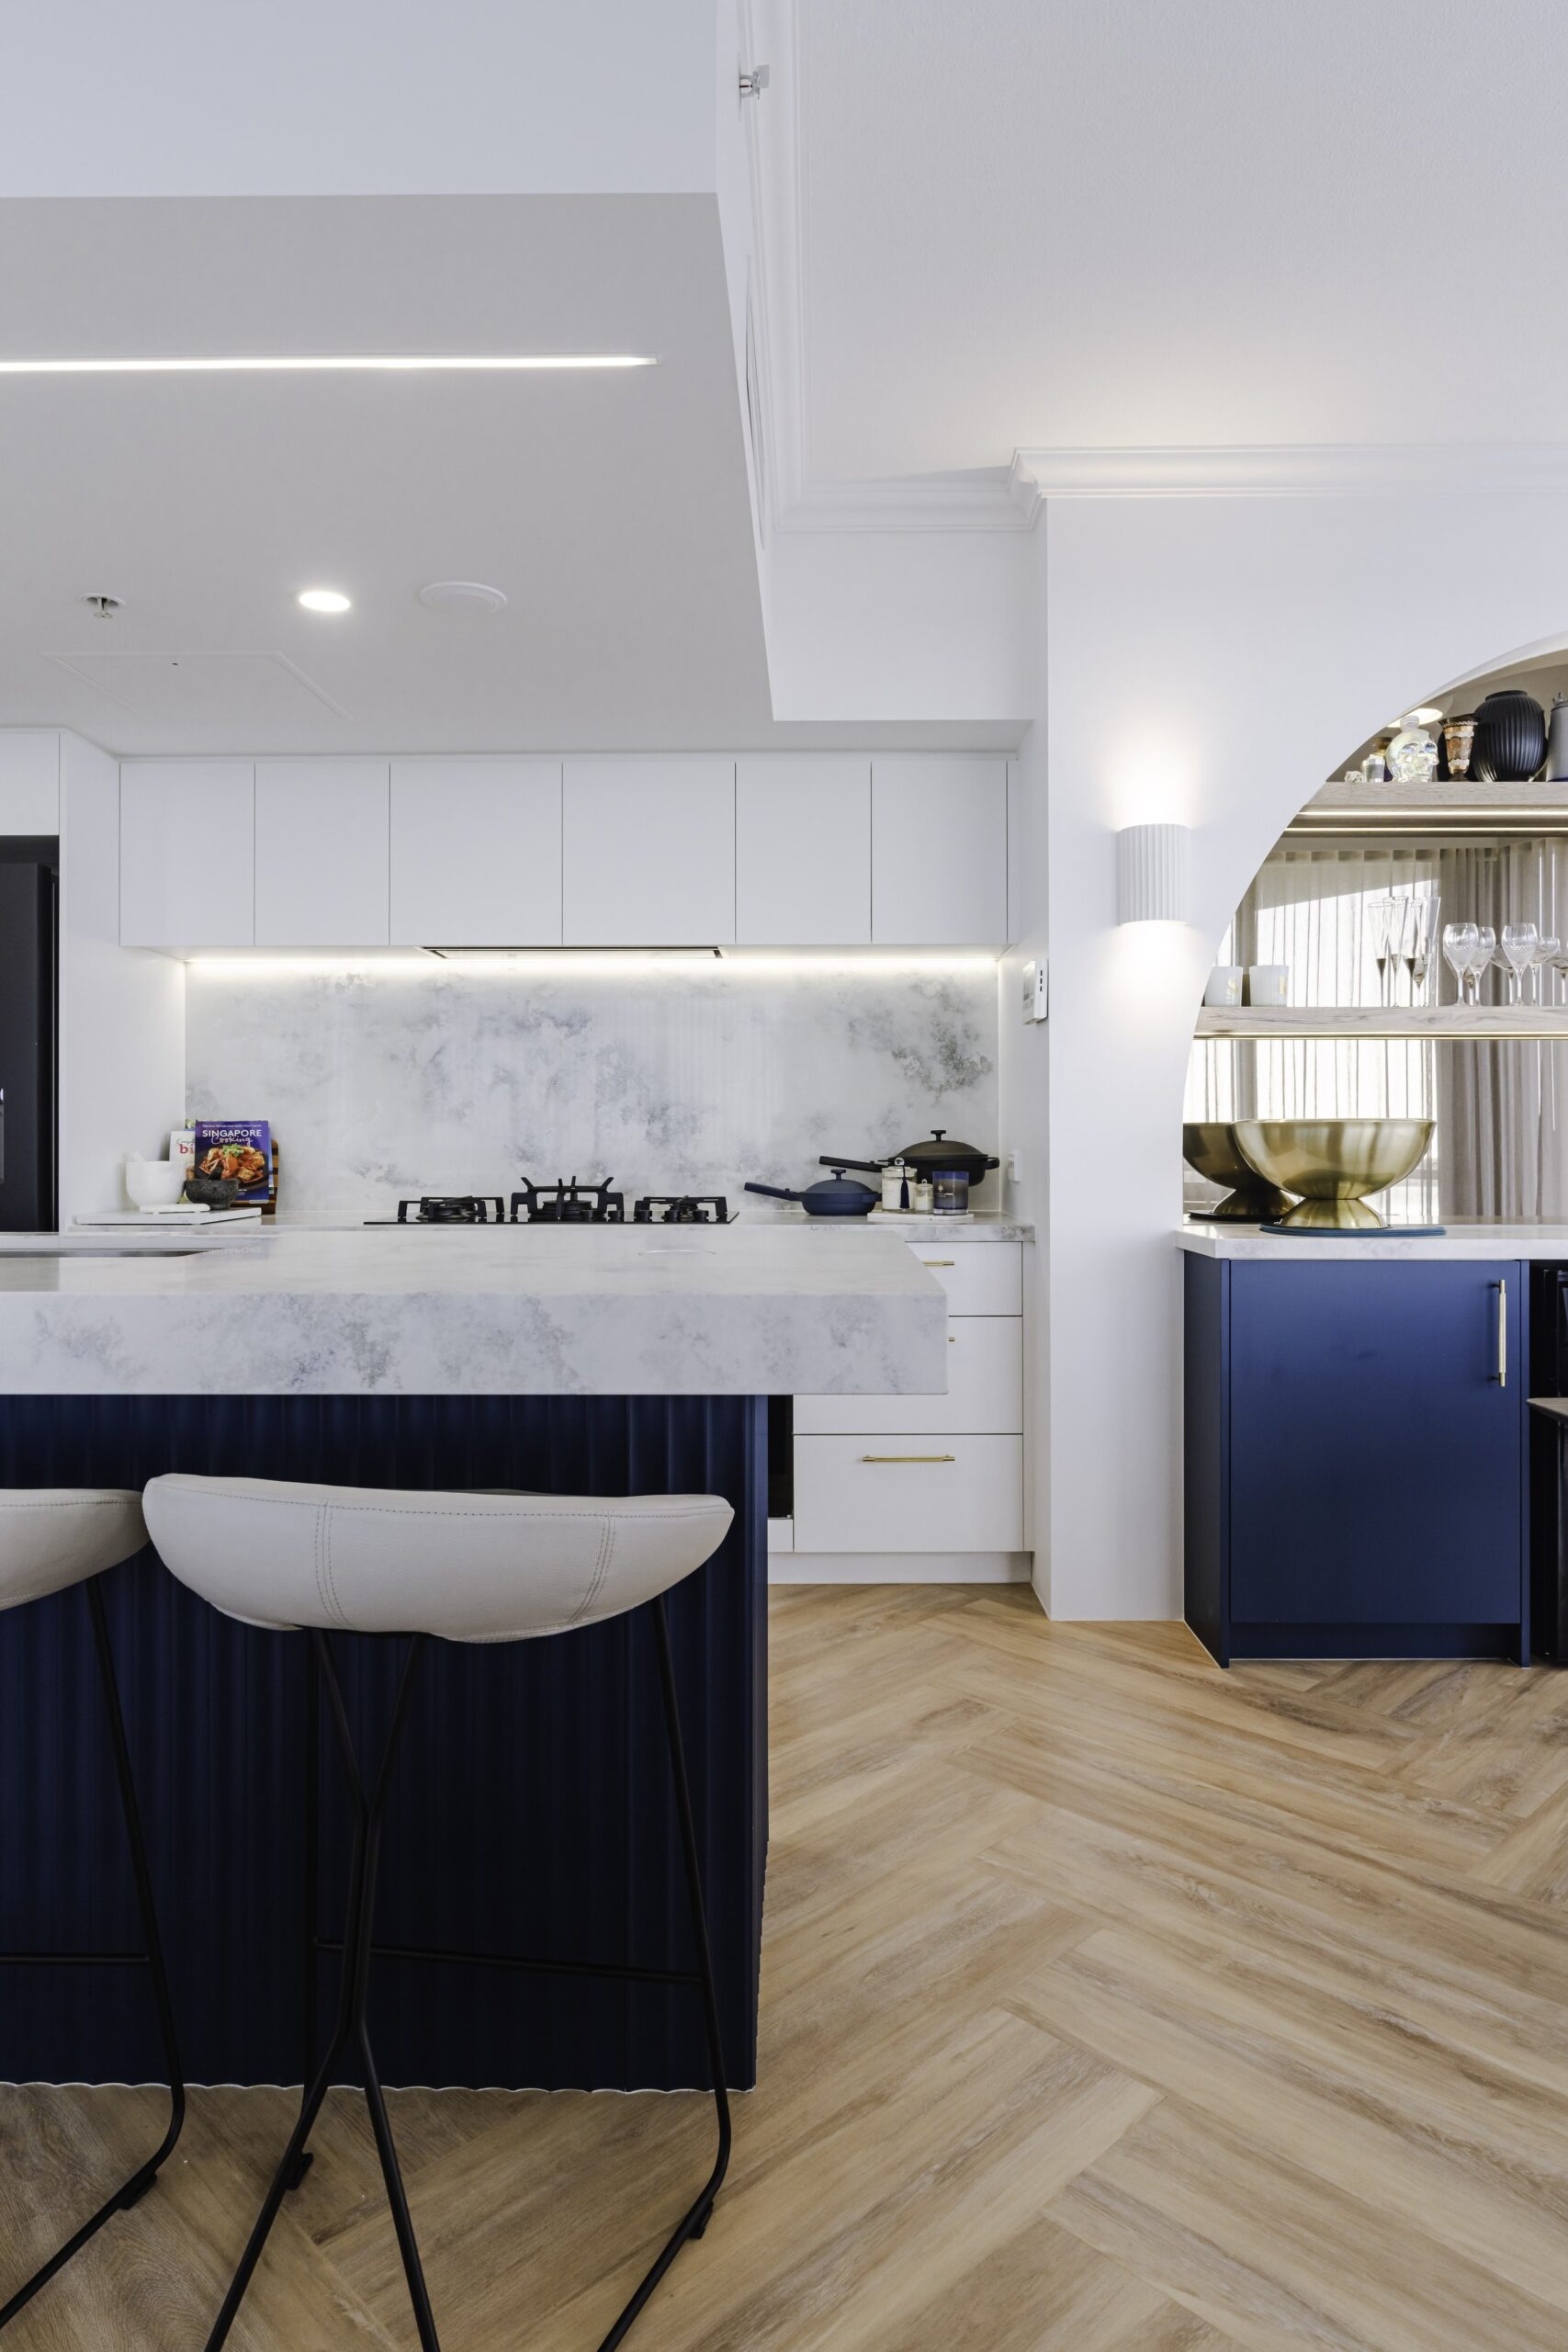
A stone-look splashback beside an arched pantry
Luxe Life, Southport
Chosen with
the kitchen,
fitted to suit.
Your splashback is planned with the benchtop and cabinetry, measured once they are in place, and installed by trades coordinated by Hasl Renovations.
Design it around you.
Talk through your room, ideas and priorities with our designer. Measurements and design development lead to 3D visuals, with a studio session to refine your selections.
Understand the investment.
Your detailed quotation sets out the agreed work and selections. We discuss materials and finishes with you so the proposed design and investment align.
Made for your space.
Our in-house cabinetry team prepares and manufactures the custom joinery, with the details coordinated around your approved design.
Bring it all together.
Our project management and installation team coordinates the build, keeps you informed and takes care of the finishing stages and rubbish removal.
Splashback
questions,
answered.
Splashbacks raise questions about materials, cleaning and installation. Here are the common ones.
What is the best splashback for a kitchen?
It depends on the look you want and how much cleaning you are happy to do. Glass and large slabs have few joins and wipe clean easily; tiles add texture with more grout to maintain. We help you compare the options for your kitchen.
Can I have a glass splashback behind a gas cooktop?
Toughened glass is made for kitchen heat, but the required clearances depend on your cooktop and its installation requirements. We confirm the details for your appliance during design.
Can you replace a splashback without replacing the benchtop?
Sometimes. It depends on how the existing splashback is fixed, the condition of the wall and how it meets the benchtop. Removing tiles can damage the wall behind, so we assess the job before recommending an approach.
Are mirror splashbacks practical?
Toughened mirror splashbacks handle moisture and heat, reflect light and have no grout to clean. They show fingerprints and water marks more readily, so they suit households happy to wipe them down.
How do power points work with a splashback?
Power points are cut into the splashback or positioned to suit it. A licensed electrician plans and installs them, so the layout is agreed before the splashback is made.
Do you install splashbacks as part of a kitchen renovation?
Yes. The splashback is usually designed alongside the benchtop and cabinetry, so the materials and details work together. Tell us if you are only updating the splashback, and the team will confirm the scope.
How much does a new splashback cost?
It depends on the material, the area to be covered, the cut-outs and the wall preparation needed. Hasl Renovations quotes the agreed design and scope, so you know what is included.
Finish the kitchen
with the right
detail.
Bring photos of your kitchen and the finishes you love. Start with a free design consultation with Hasl Renovations.
Hasl Renovations Design Studio
2/22 Brisbane Road
Labrador, QLD 4215
Monday to Friday, 9am to 4pm
Saturday by appointment
Updating more of the kitchen?